
You’ve planned your wedding, created a timeline, booked your wedding photographer and other vendors, and made all these different purchases – florals, tablescapes, signage, jewelry, YOUR DRESS, and so much more! But how do you make sure all of these details are captured? By telling your photographer that those photos matter to you; and by planning and prepping for the time your photographer has to get those detail shots. To get the perfect detail photos on your wedding day, follow the four steps below!
When Do Detail Photos Take Place?
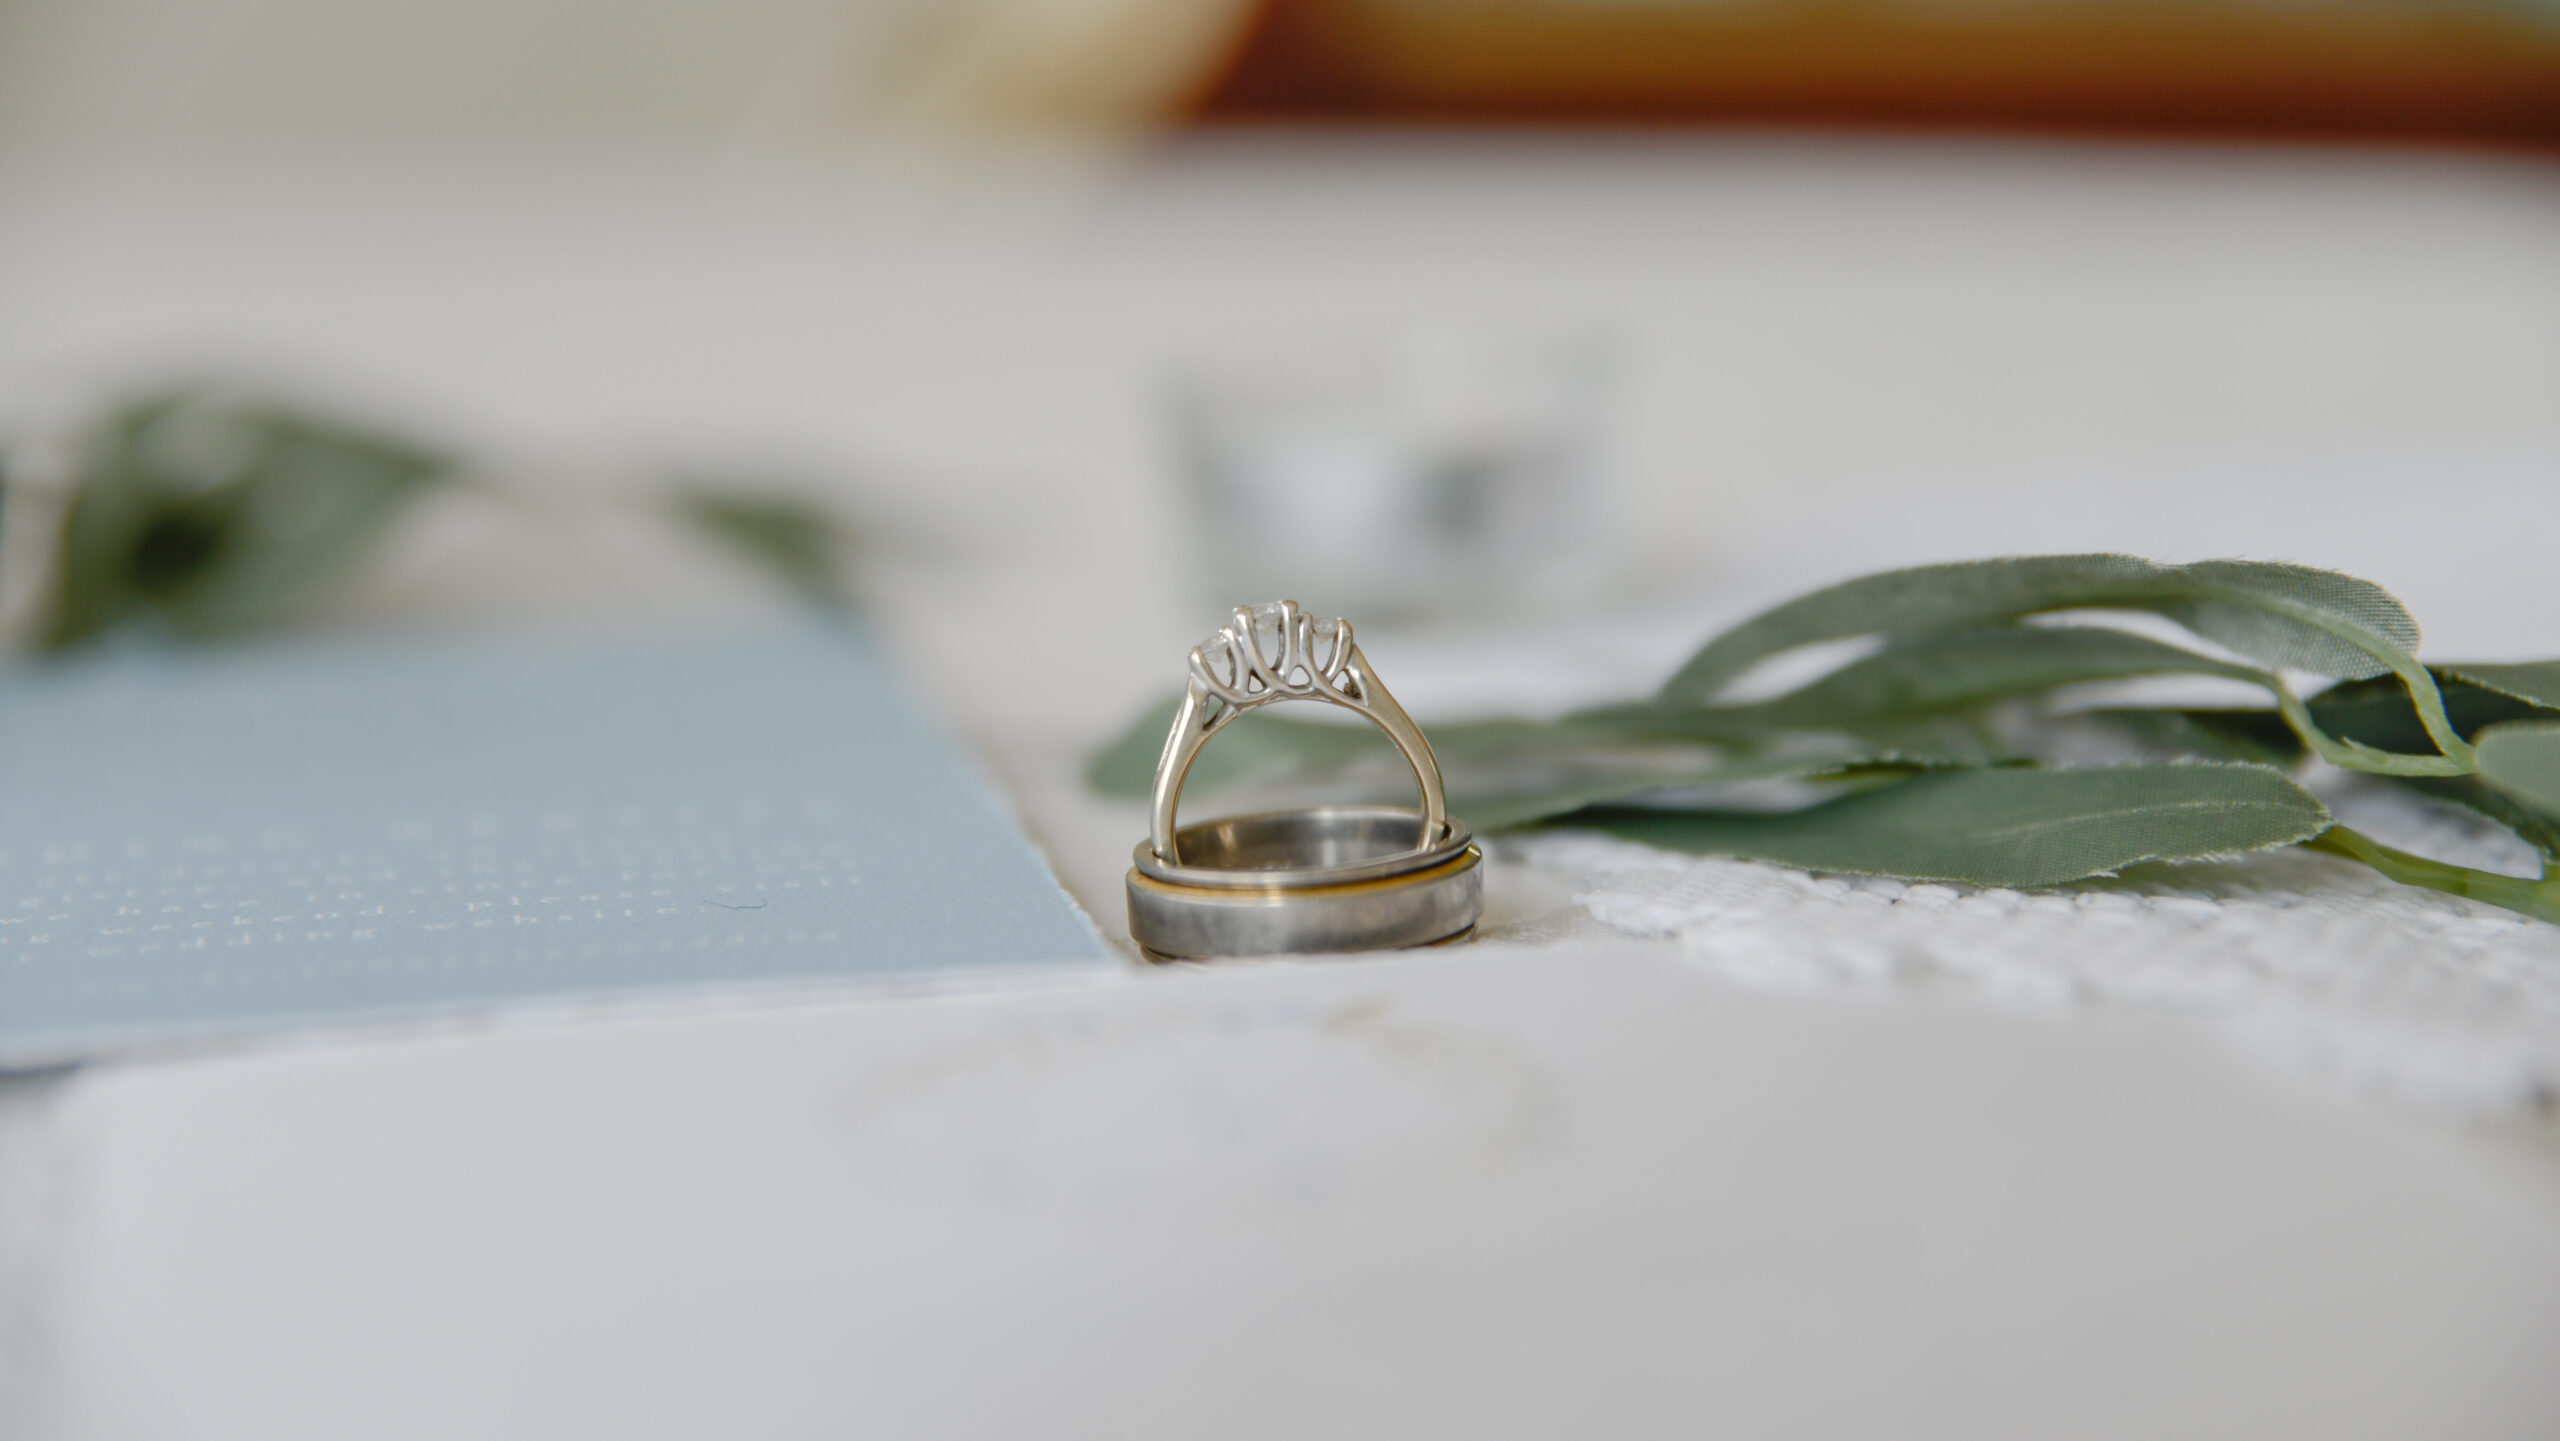
Detail photos are one of the first things to take place on your big day! If you want pictures of your dress, jewelry, grooms apparel, and other small wedding details that will be apart of your wedding, they need to be done before you put them on – so before your getting ready photos, first look, etc. If the venue and scenery are important, these details are much more easily captured before guests arrive and when your photographer isn’t focused on covering your reception or ceremony (or the moments in between!). Once your wedding has started, having the photographer’s undivided attention at all times will result in much better (and more) photos!
STEP 1 – ANSWER THESE QUESTIONS
- Did you leave space in your timeline for detail photos? If so, how much?
- Have you discussed detail photos with your photographer?
- What specific details do you want captured? Make a list.
- Where will your detail photos be taken?
STEP 2 – TALK TO YOUR PHOTOGRAPHER & ADJUST YOUR TIMELINE
If you haven’t already talked to your photographer or added space for detail photos into your timeline, I recommend starting here. Not only will your photographer have TONS of recommendations, this may also alter the time they need to arrive, and they should be notified as soon as possible!
Tips for adding space for detail photos into your timeline:
- Add 15-45 minutes to the beginning: 15 minutes may be a bit rushed depending on how many details you have, while 45 minutes may leave a lot of buffer time (which never hurts!).
- Book your photographer for an extra hour: They can spend it all on detail shots, or divide it between getting ready photos, adding 15-30 minutes to the end of the day, and a number of other things. If you didn’t book your photographer for the whole wedding, there’s definitely ways to incorporate another hour!
STEP 3 – GATHER YOUR DETAIL ITEMS
This is the part that will make the start of your wedding day run much smoother! I recommend finding a safe place or a box where things won’t get damaged. Once you have this place or box, take the list of specific details you made in Step 1 and gather every item! Now that you have everything in one place, just leave your box in a designated area the day of your wedding or hand it to your photographer when they arrive, and they’ll have everything they need to get ALL the photos you want.
Conclusion
You may not have considered this aspect of your wedding day and photography, but detail photos can help really round out your gallery or album – bringing you back to that day even more. I will always be FOR setting aside time for capturing these!
For more helpful content like this, follow along with the RP Newsletter or follow me on social media.

COMMENTS